


Transformers and More @ The Seibertron Store
These are affiliate links. We may earn commissions when you purchase items or services through these links.
SWEET FANG Transfo ...
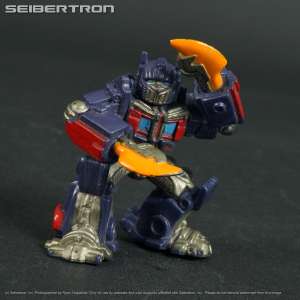
Robot Heroes OPTIM ...

FIZZKICK Transform ...
.jpg)
ARMORHIDE Transfor ...

Series 1 GRIMLOCK ...

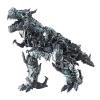
Transformers MOVIE ...

Transformers REIGN ...

LA15 GRIMLOCK Tran ...
LONG HAUL Transfor ...

NEW!
INFILTRATION SOUND ...

SCRAPHEAP Transfor ...
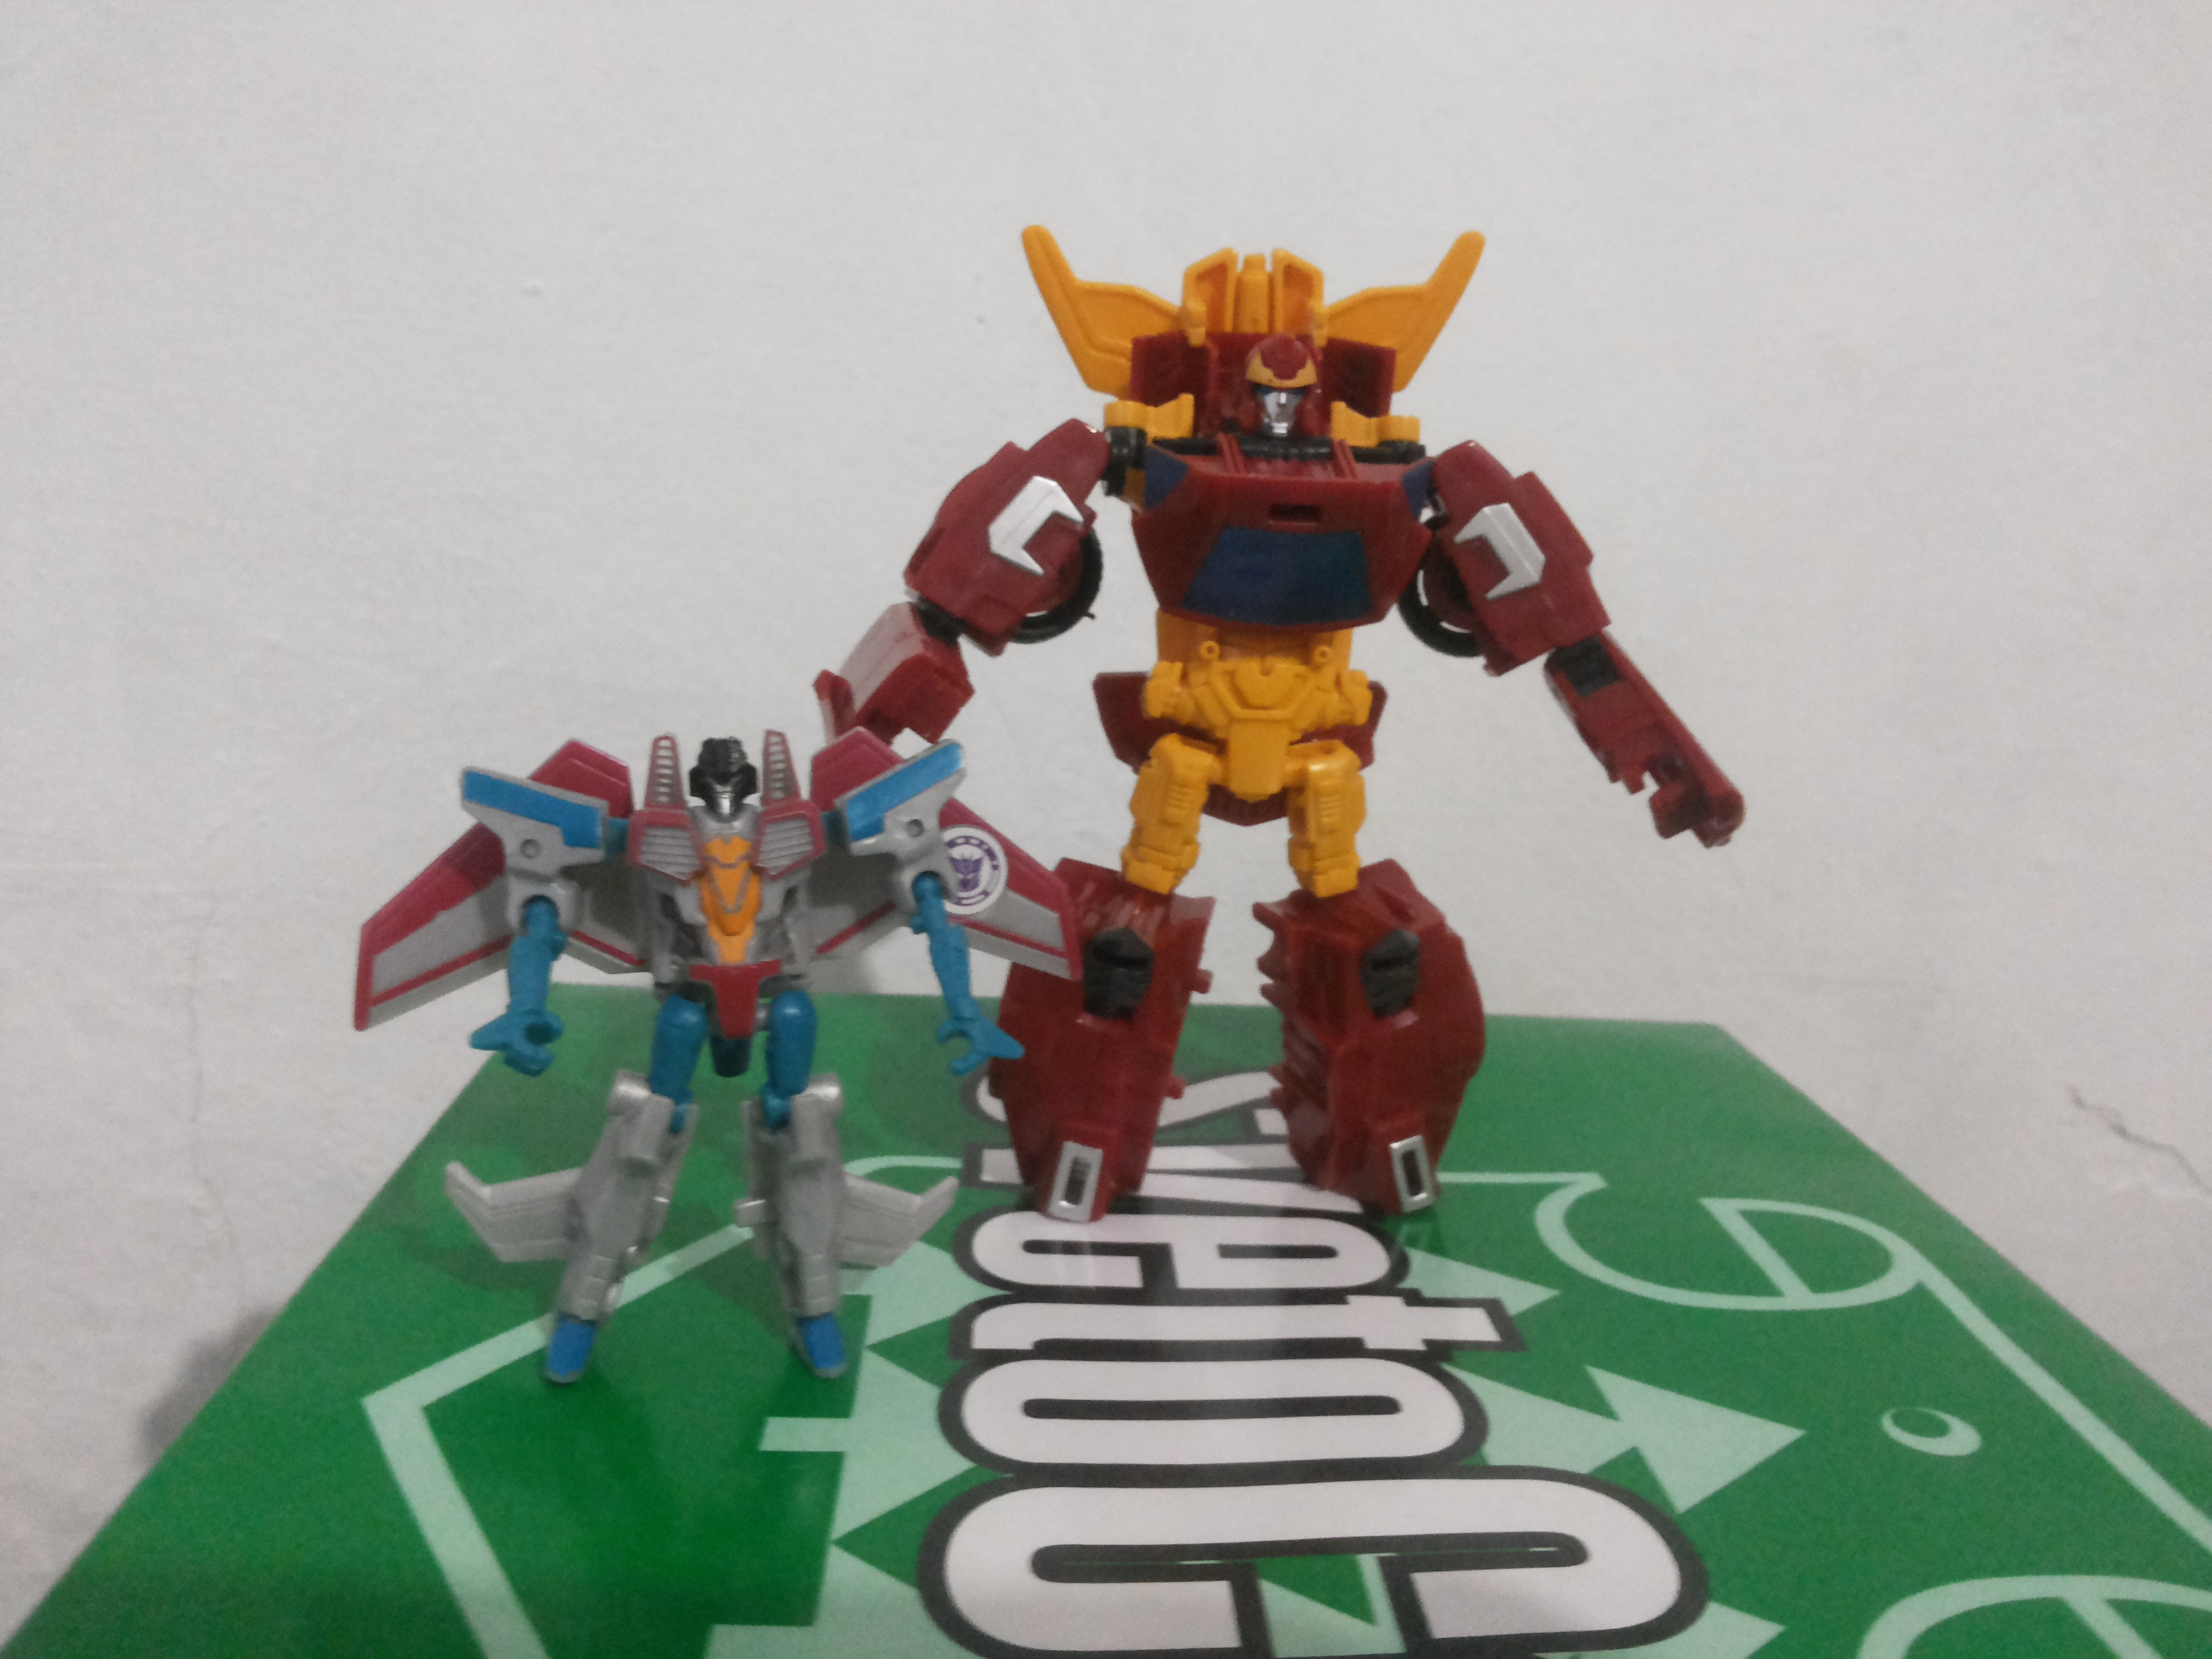
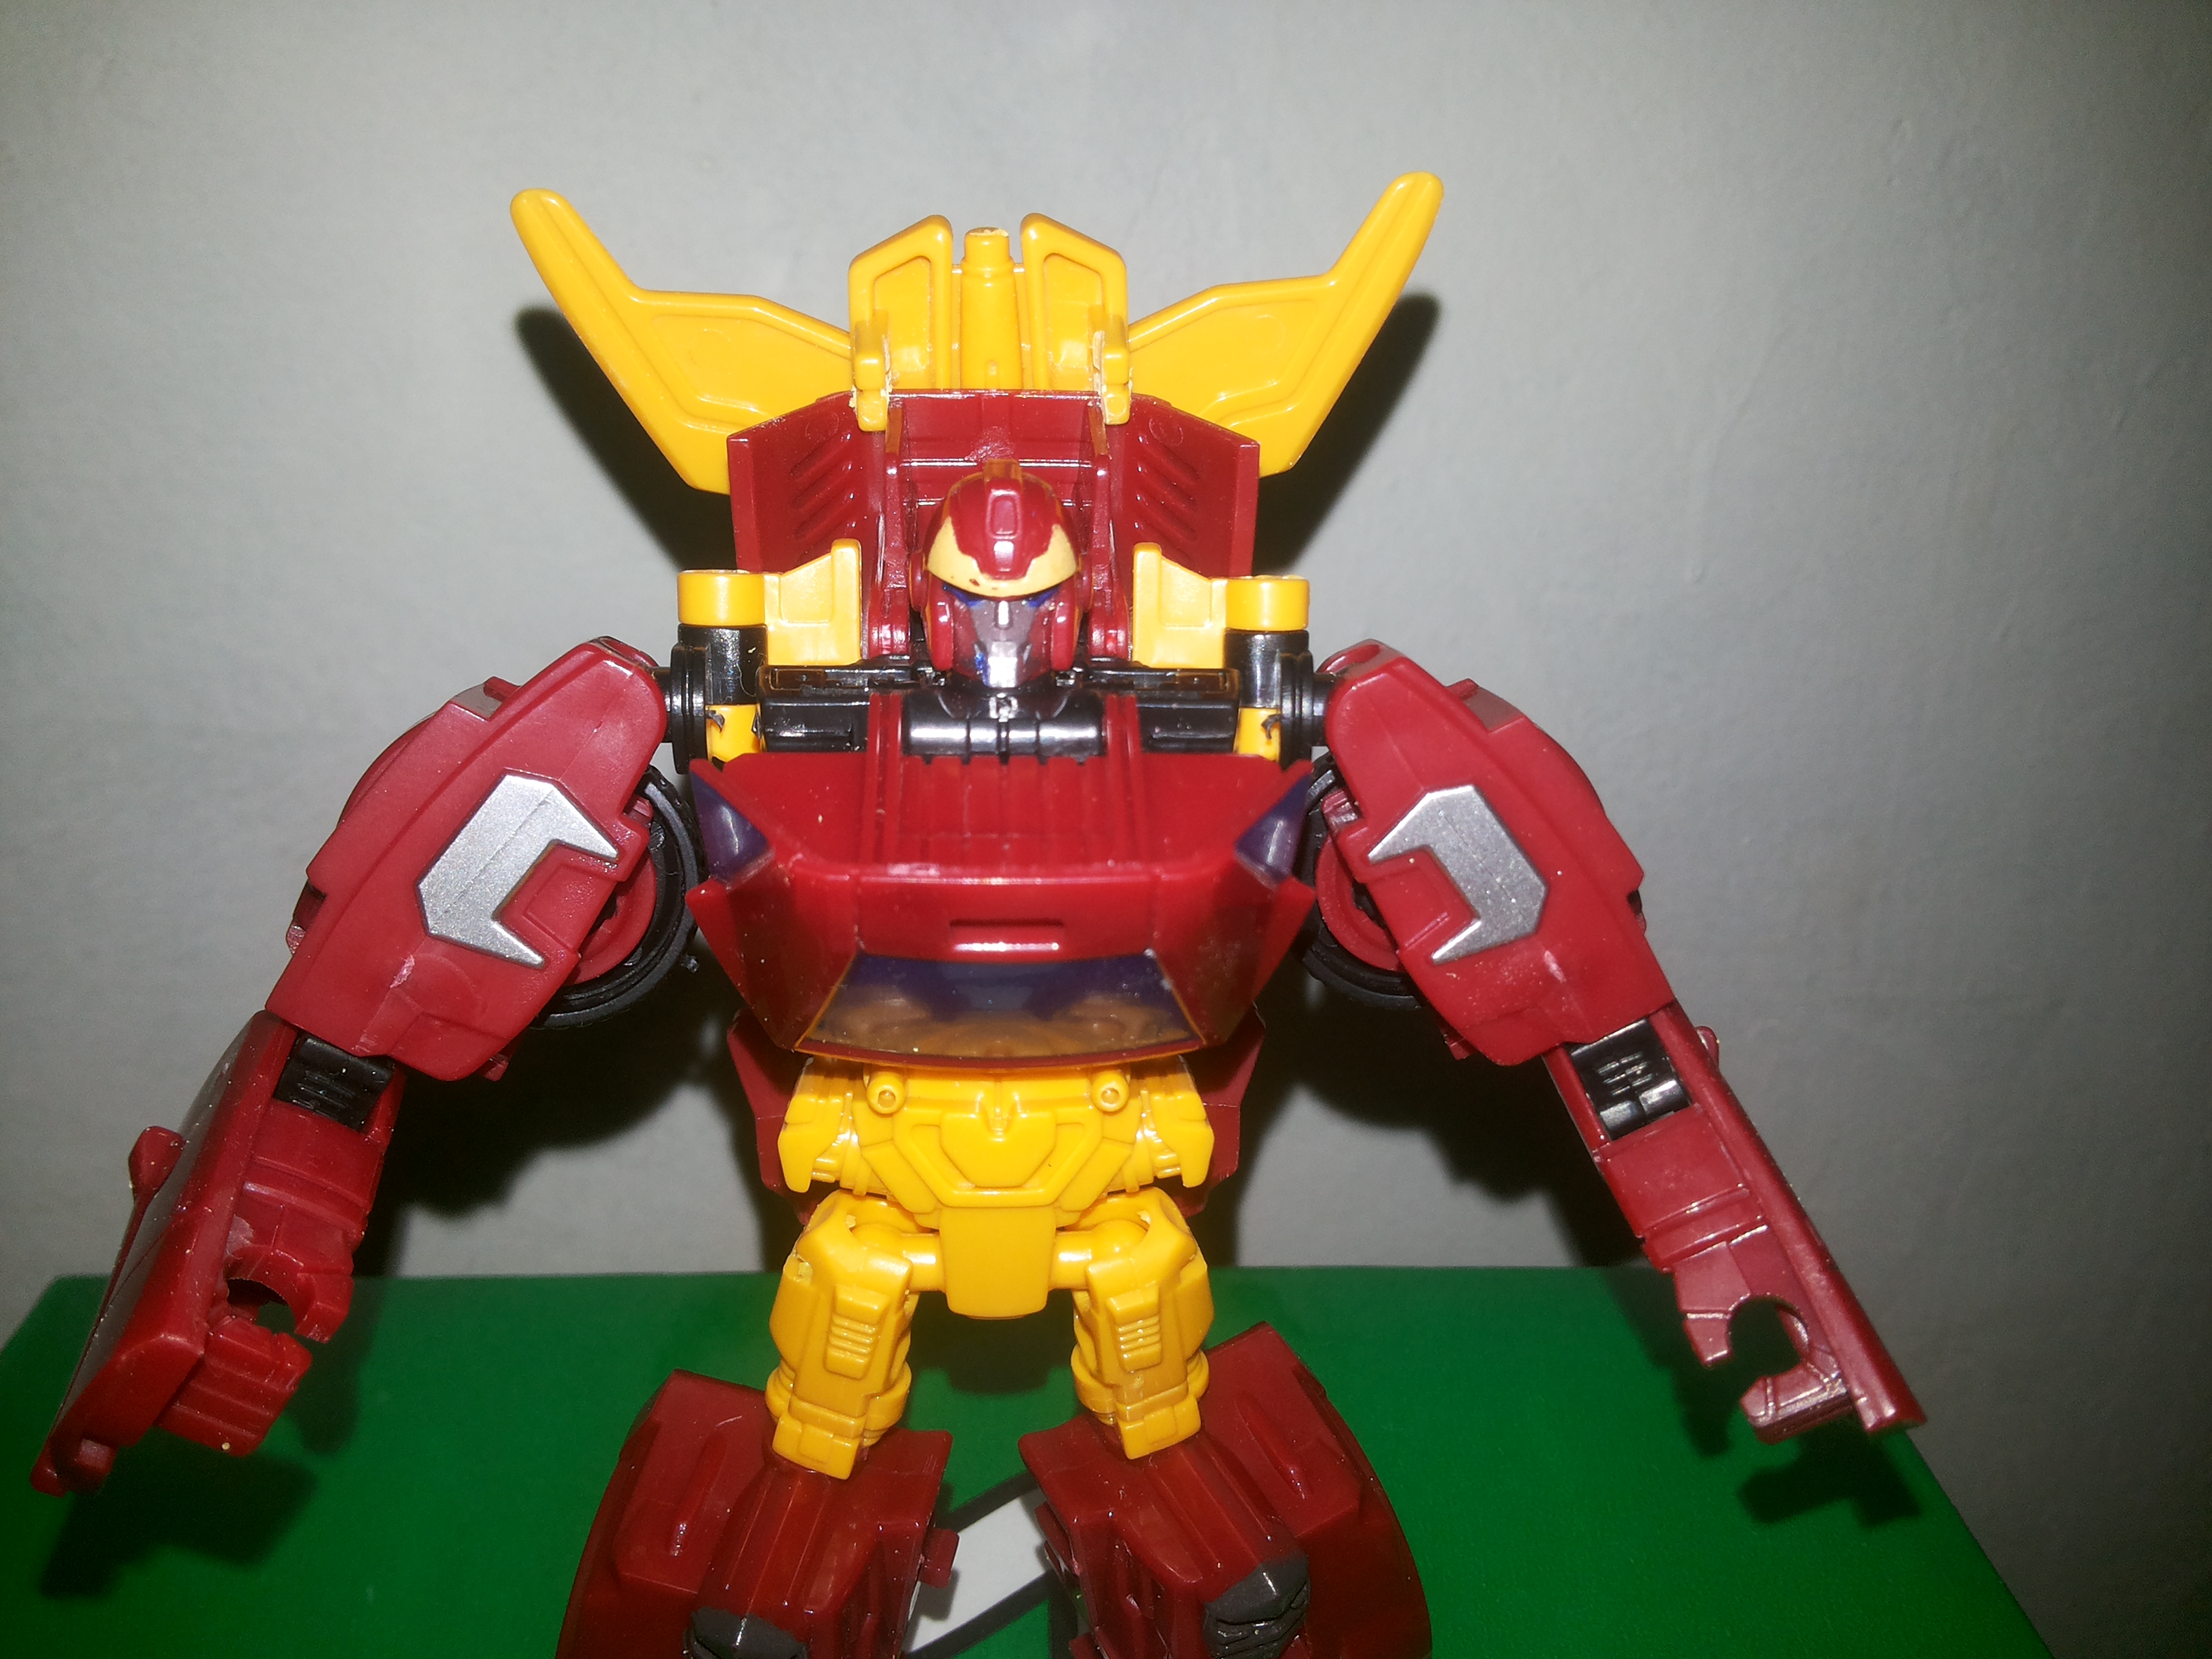
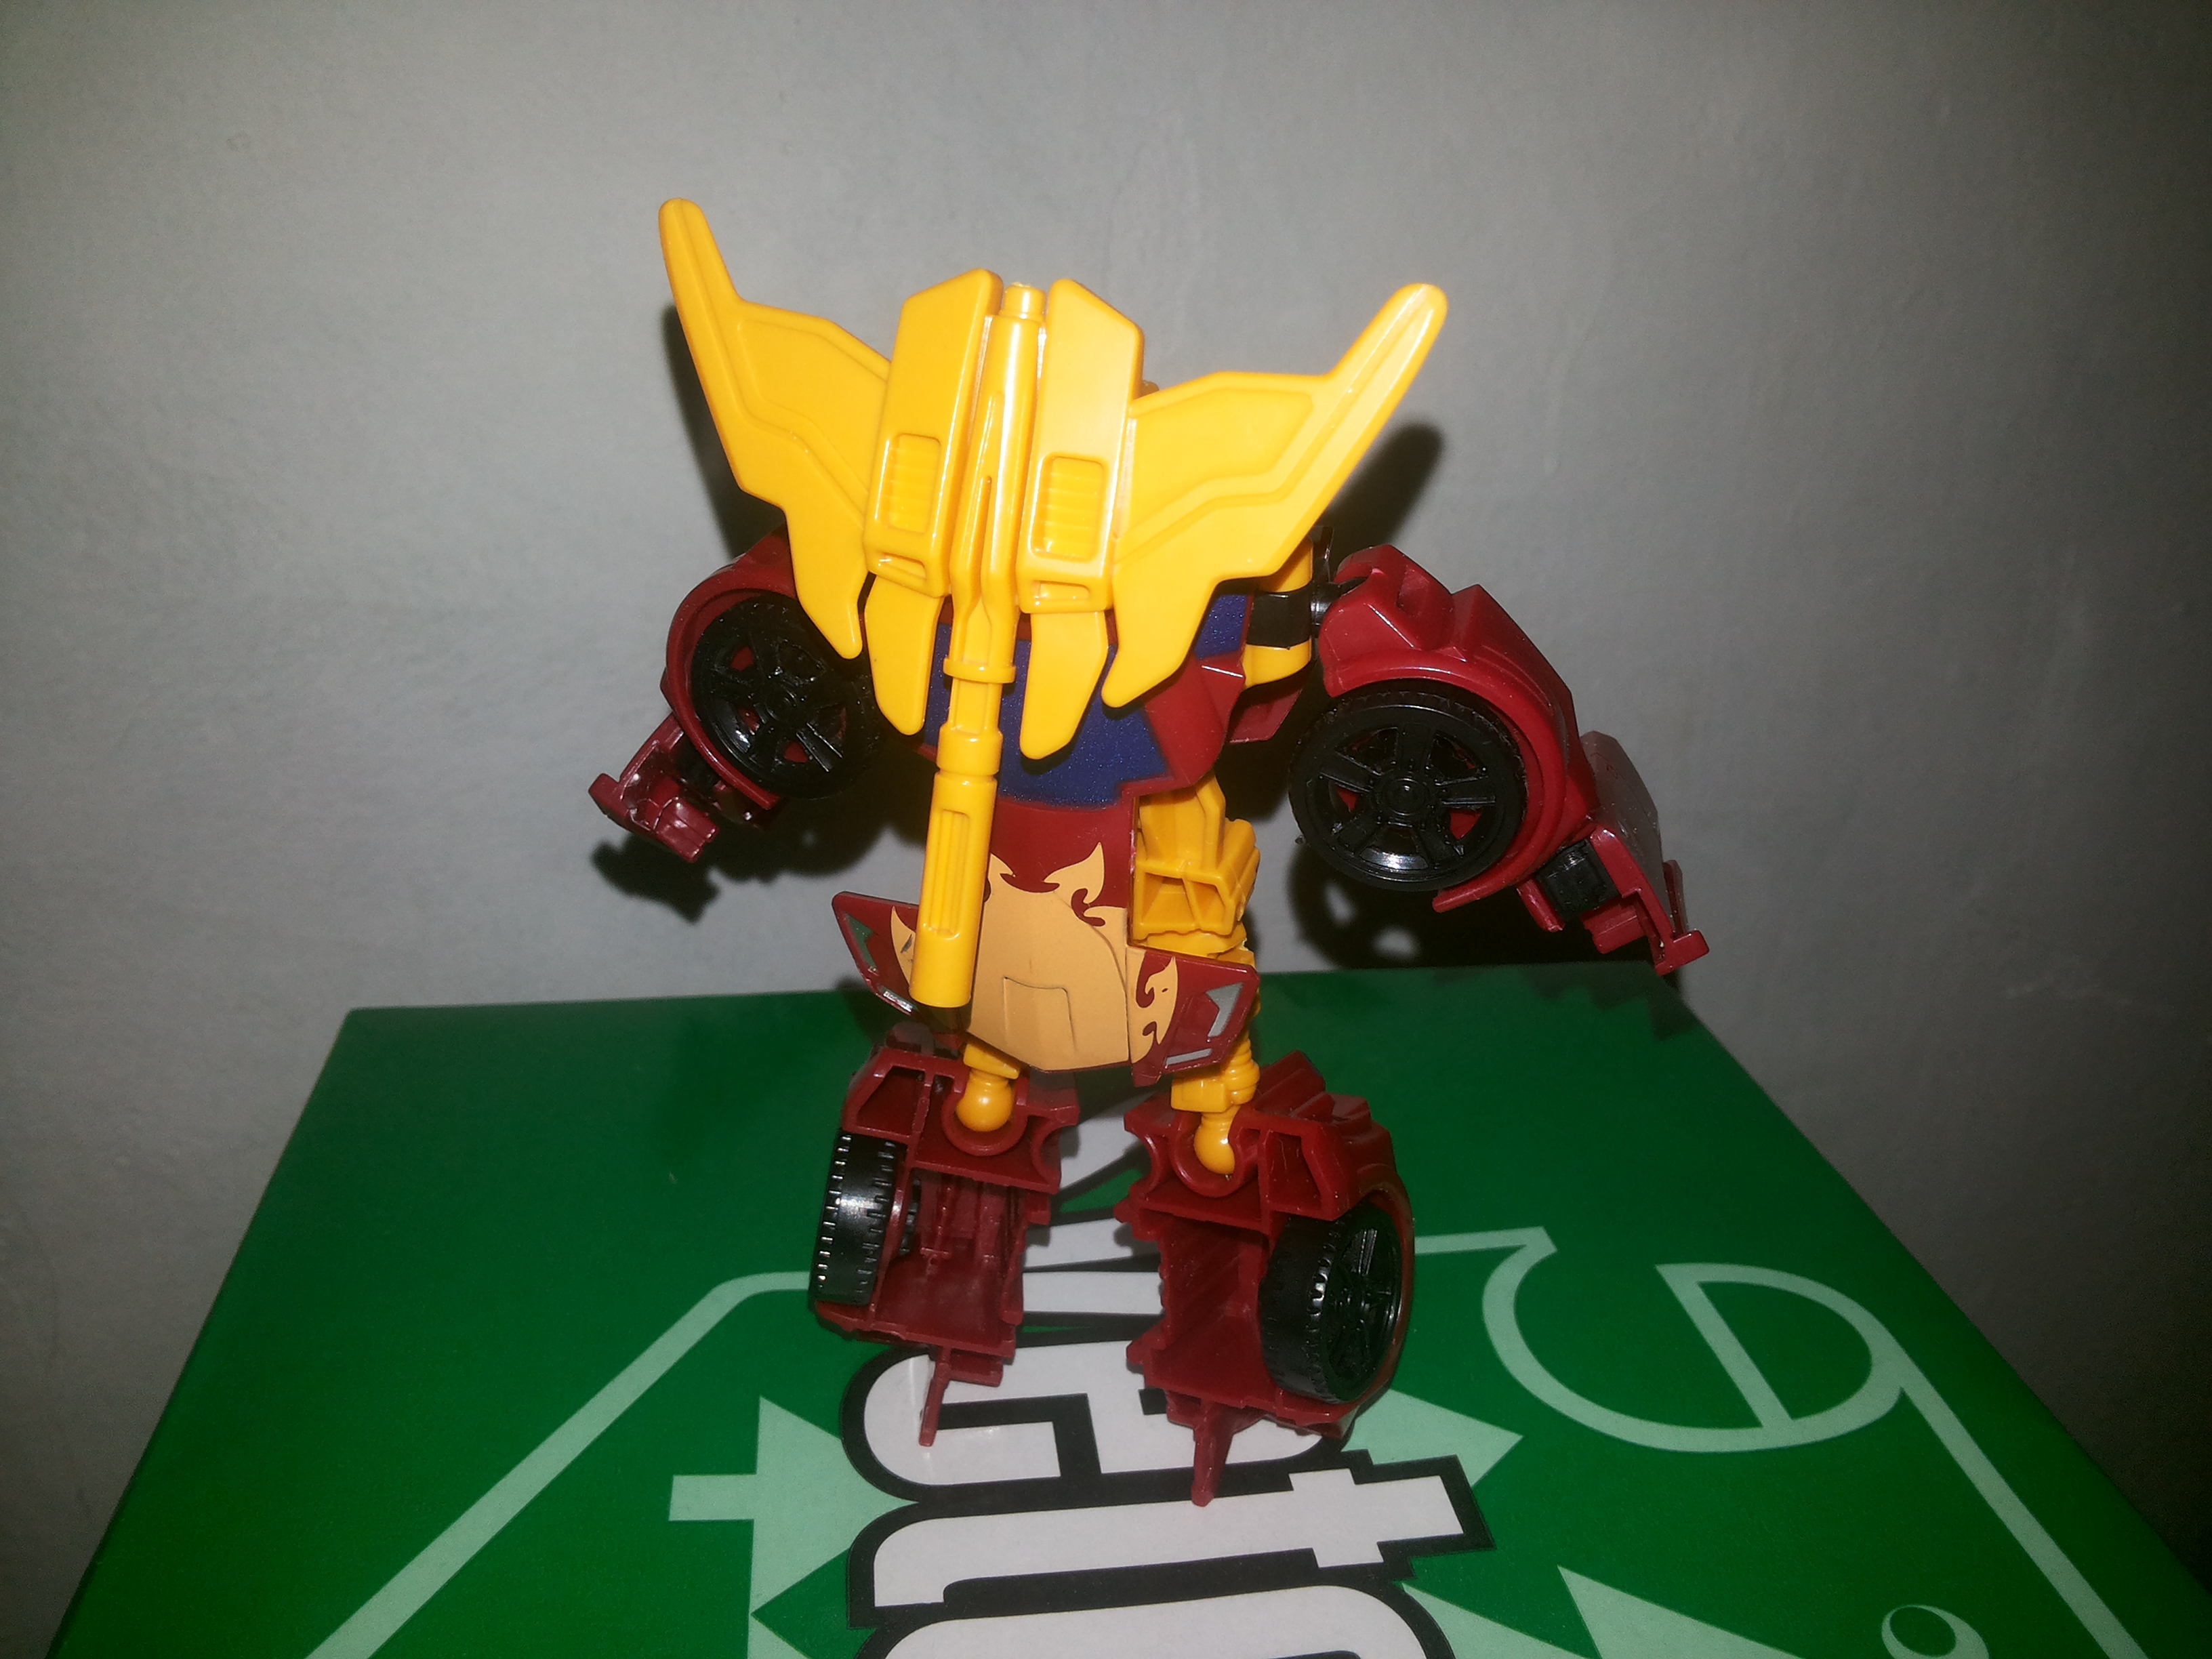
HOT ROD Transforme ...
Flip Change DRIFT ...
NEW!
FREEZER Transforme ...
* Price and quantities subject to change. Shipping costs, taxes and other fees not included in cost shown. Refer to listing for current price and availability.